
When it comes to photography, stability is key. Whether you’re shooting stunning landscapes, capturing the perfect portrait, or recording a smooth video, having the right tripod can make all the difference. In this ultimate guide, we’ll explore how to choose the best tripod for your needs, cover essential photography tips for using tripods effectively, and introduce some top-notch gear to help you stay steady in any shooting situation.
Why Stability Matters in Photography
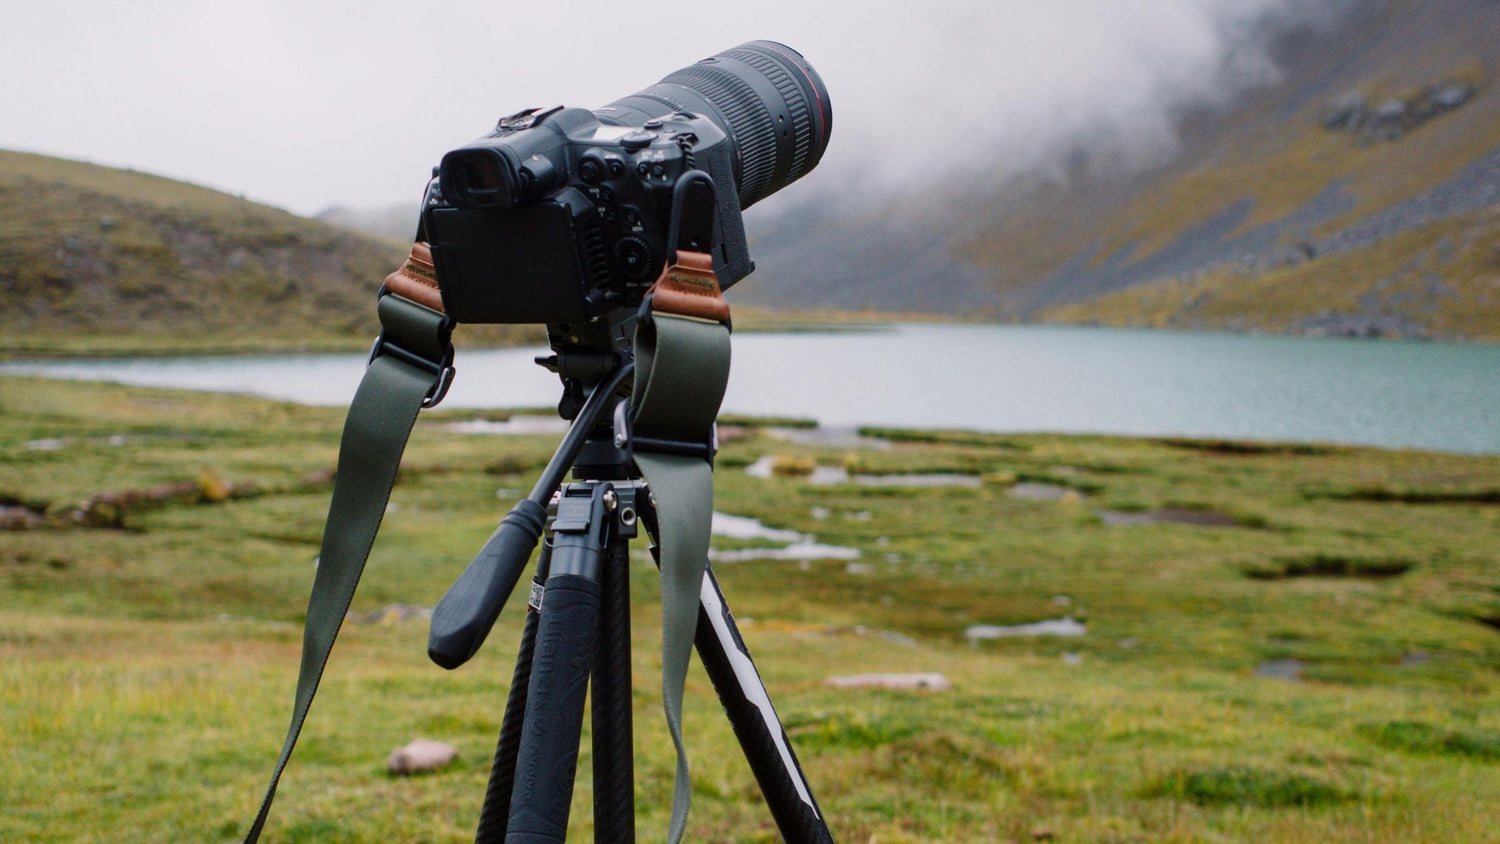
Before we dive into the world of tripods, let's first talk about why stability is so important. In photography, even the smallest camera shake can ruin a shot. That blurry image of a beautiful sunset or a shaky video during a critical moment? It’s all due to a lack of stability. Tripods are designed to eliminate that shake and provide a solid foundation for your camera, so you can capture sharp, clear images without any distractions.
But not all tripods are created equal. The right tripod can enhance your photography in ways that go beyond just keeping your camera still. The key is to understand your specific needs and how different tripods can help you achieve the best results.
What to Look for in a Tripod
1. Material and Build Quality
A tripod’s material impacts its weight, durability, and how well it handles different conditions. Common materials include:
-
Aluminum: Lightweight, budget-friendly, and durable, but can be prone to vibrations.
-
Carbon Fiber: More expensive but incredibly light and stable. It's the top choice for photographers who need a lightweight but sturdy tripod.
-
Steel: Heavy-duty and ideal for rough environments, though not as portable.
If you’re traveling a lot or planning to shoot for extended periods, you’ll want a lightweight, durable tripod, like carbon fiber, that won’t weigh you down.
2. Height and Adjustability
The height of the tripod matters because you’ll want to be able to adjust it to the perfect level for each shot. Many tripods come with adjustable legs, and some even offer a center column that extends vertically for extra reach. If you’re shooting from high or low angles, a tripod that’s easy to adjust is essential.
3. Weight Capacity
Always check the weight capacity of a tripod. A lightweight tripod may be easy to carry, but it might not hold up under the weight of your camera gear, especially if you have a heavy DSLR with a long lens. On the flip side, tripods that can hold more weight tend to be heavier, but they offer better stability.
4. Stability and Vibration Resistance
The best tripods are designed to minimize vibrations, which can cause blurry images or unstable video footage. Look for tripods with features like rubber feet or a hook on the center column for hanging additional weight (like your camera bag) to help weigh down the tripod and reduce movement.
Essential Photography Tips for Using Tripods
Now that we’ve covered what to look for in a tripod, let’s explore some photography tips that will help you maximize its potential.
1. Use a Remote or Timer
Even with a tripod, pressing the shutter button can introduce some shake, especially during long exposures. To avoid this, use a remote shutter release or set the camera’s self-timer. This will allow you to capture sharp, shake-free photos every time.
2. Keep the Tripod Low for Better Stability
While it might be tempting to extend the legs of your tripod all the way to get a higher shot, this can lead to instability. For maximum stability, keep the tripod as low as possible. A low angle shot can also add an interesting perspective to your composition.
3. Level Your Tripod
If your tripod isn’t level, you could end up with distorted images or video footage. Many tripods come with built-in bubble levels to help you make sure everything is straight. If not, invest in a separate spirit level that can be attached to your camera.
4. Use the “Rule of Thirds” for Composition
A tripod can give you the time to carefully compose your shot. Use the rule of thirds to create a more visually appealing image. Imagine your scene divided into nine equal parts (like a tic-tac-toe grid), and try to align important elements of your composition along these lines or at their intersections.
5. Try Long Exposure Photography
One of the best uses of a tripod is capturing long exposure shots. Whether you're photographing a waterfall, the night sky, or the blur of a busy city street, long exposure can create stunning effects. Make sure to use a tripod to keep your camera still during these extended shutter times.
Conclusion: Find Your Perfect Tripod
Choosing the right tripod is all about balancing weight, stability, and functionality. Whether you're an amateur photographer or a professional videographer, investing in a good tripod can elevate the quality of your work. Remember to keep an eye on the materials, height adjustability, weight capacity, and vibration resistance, and don't forget to use photography tips like leveling your tripod, using a remote, and experimenting with long exposure shots.
With the right tripod in hand, you’ll have the stability you need to stay steady and capture stunning, sharp shots every time.