
Photography is more than just pointing a camera at a subject and clicking the shutter button. It's an art, a skill, and, with the right gear, a powerful medium for self-expression. Whether you're an aspiring photographer or just someone looking to improve your social media content, understanding some essential photography techniques can elevate your shots from basic to breathtaking.
In this blog, we'll dive into 7 key photography techniques that will transform your shots, along with a couple of gear recommendations that can help you master each technique. Plus, we'll throw in a few tips on how to use lighting and tripods effectively to make your photos even more professional.
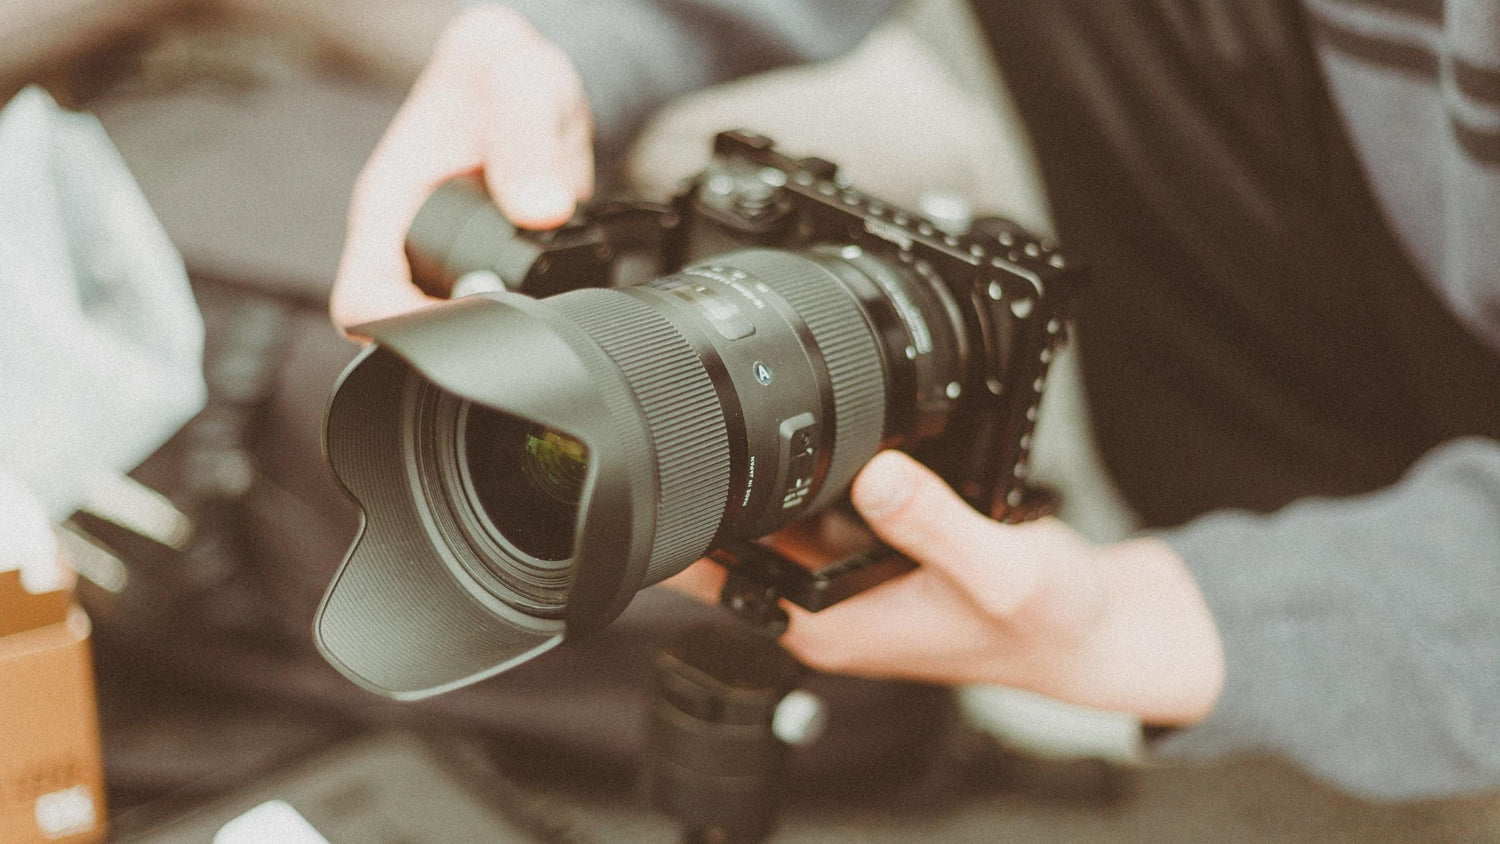
So, grab your camera (or smartphone), and let’s get started!
1. Master the Rule of Thirds for Balanced Compositions
The Rule of Thirds is one of the most fundamental photography techniques for creating balanced, visually pleasing compositions. Imagine dividing your frame into a 3x3 grid, both horizontally and vertically. The idea is to place your subject along these lines or at their intersections, rather than in the center of the frame.
This technique adds visual interest and allows the viewer's eyes to move naturally across the image. Whether you're photographing landscapes, portraits, or even flat lays, the Rule of Thirds helps create a more dynamic composition.
Tip: Practice framing your shots using your camera's grid lines, which many devices offer as an option. The grid makes it easy to position your subject strategically.
2. Use Leading Lines to Guide the Viewer’s Eye
Leading lines are natural or man-made lines in the scene that draw the viewer's attention towards the subject or focal point. Roads, rivers, pathways, or architectural elements such as stairs or fences are great examples of leading lines.
By positioning these lines to guide the viewer’s eyes to the subject, you create depth and a sense of perspective in your photos. Leading lines work especially well in landscape photography, urban photography, and architectural shots.
Tip: Look for interesting patterns and lines in your environment before taking the shot. Experiment with different angles to see how the lines can work in your favor.
3. Experiment with Depth of Field to Add Drama
Depth of field (DOF) refers to the area of your image that is in focus. A shallow depth of field results in a blurred background (bokeh effect), while a deep depth of field keeps everything in sharp focus. Playing with depth of field can drastically change the mood and impact of your photos.
For portraits, you might want a shallow depth of field to blur out distracting backgrounds and highlight your subject. In contrast, for landscape shots, you may prefer a deep depth of field so that both the foreground and background are in focus.
Gear Tip: A 50mm f/1.8 lens or any other fast lens with a wide aperture is ideal for achieving that dreamy, blurred background. If you're shooting with a smartphone, you can use portrait mode to simulate this effect.
4. Capture the Golden Hour for Soft, Warm Lighting
Lighting is one of the most important aspects of photography, and the golden hour—just after sunrise or before sunset—offers the perfect light for your shots. The light is soft, warm, and flattering, making it ideal for portraits, nature shots, and anything in between.
The golden hour light creates beautiful shadows and highlights, adding depth and dimension to your photos. Additionally, it gives your photos a magical, almost cinematic feel.
Tip: Plan your shoots around the golden hour and take advantage of this natural light to enhance your photos.
Gear Tip: To make the most of the golden hour, a portable ring light from Oldshark can help fill in any shadows on your subject's face, especially if the sunlight is dim or harsh. The ring light is perfect for selfies, portraits, and close-up shots.
5. Focus on the Details with Macro Photography
Macro photography allows you to capture the intricate details of small objects that are often overlooked. This technique works wonders for photographing flowers, insects, textures, and even food.
To achieve sharp focus on such tiny subjects, you’ll need a macro lens or a smartphone with macro capabilities. But it's not just about zooming in; it's about paying attention to the texture, colors, and fine details that make the subject unique.
Tip: Use a tripod when shooting macro photography to avoid camera shake, as even the smallest movements can cause blurry images.
Gear Tip: If you want to take your macro photography to the next level, a tripod is an essential tool. Oldshark’s compact tripod offers stability and flexibility, perfect for capturing those sharp, close-up shots without the risk of motion blur.
6. Play with Reflections to Add a Creative Touch
Reflections are an excellent way to add depth, symmetry, and creativity to your images. Whether it’s a puddle of water, a shiny surface, or a mirror, reflections can help you create visually striking compositions that stand out.
Try to find locations where natural or artificial reflections are available. Puddles, lakes, and glass surfaces all make for great reflective subjects. Just be sure to compose your shot so that the reflection is balanced and doesn't overpower the main subject.
Tip: Keep in mind the angle at which you're shooting. A low angle often yields the most dramatic and symmetrical reflections.
7. Capture Motion with a Slow Shutter Speed
Capturing motion is one of the most exciting photography techniques. A slow shutter speed allows you to freeze or blur motion, depending on how you use it. For example, you can create stunning long-exposure shots of waterfalls, car lights at night, or even the movement of clouds in the sky.
When using a slow shutter speed, it's essential to stabilize your camera to avoid unintentional motion blur. A tripod is invaluable here, as it helps keep your camera still while you experiment with different shutter speeds.
Tip: Use a neutral density (ND) filter if you're shooting during the day and want to capture long exposure shots without overexposing the image.
Final Thoughts on Photography Gear
While techniques are crucial for improving your photography skills, the right gear can certainly make a significant difference. For the techniques discussed above, having the proper tools can help you achieve better results and more creative control over your shots.
A tripod is essential for stabilizing your camera, especially for slow shutter speeds or macro photography. A ring light is a great tool for controlling your lighting, whether you're shooting in the golden hour or trying to illuminate a close-up subject.
At Oldshark, we offer a range of high-quality gear, including tripods and lighting solutions, that can help elevate your photography game. Whether you're shooting portraits, landscapes, or vlogs, our products are designed to help you capture the best possible images.
Conclusion
Photography is all about experimenting and pushing your creativity. By mastering these seven techniques and using the right gear, you'll be well on your way to capturing stunning shots that stand out. So, the next time you pick up your camera or smartphone, try out these techniques and see how they can transform your photography. And don’t forget—quality gear can make all the difference in achieving those perfect shots.