
Photography is more than just a hobby—it’s a way to capture memories, tell stories, and express creativity. Whether you're a seasoned professional or a beginner trying to master the basics, there’s always room to improve your craft. In this blog, we’ll dive into seven essential photography tricks that will take your shots from good to great. Plus, we’ll highlight a couple of must-have tools to elevate your photography game, like Oldshark's premium tripods and lighting solutions.
1. Master the Rule of Thirds
The rule of thirds is one of the most well-known photography techniques, and for good reason—it helps create balanced, engaging compositions. Imagine dividing your frame into nine equal parts by drawing two vertical and two horizontal lines. The idea is to position the key elements of your scene along these lines or where they intersect.
By placing your subject off-center, you create a sense of harmony and movement. This simple trick will instantly improve the visual appeal of your photos.
Pro Tip: Use a grid overlay on your camera or smartphone to help visualize the rule of thirds in real-time.
2. Use Leading Lines to Guide the Viewer’s Eye
Leading lines are visual elements that draw the viewer’s eye toward the main subject or point of interest. These can be roads, rivers, fences, or even the edge of a building. The key is to use these lines to create depth and direct focus, helping to tell a more dynamic story.
For example, shooting down a long, winding road with the horizon as your focal point can evoke feelings of adventure or mystery. Whether you're photographing landscapes or urban scenes, incorporating leading lines can add dimension to your work.
Product Highlight: For capturing these expansive shots with steady hands, a Oldshark tripod is essential. The Oldshark tripod offers excellent stability, even in challenging conditions, ensuring that your composition remains sharp and steady.
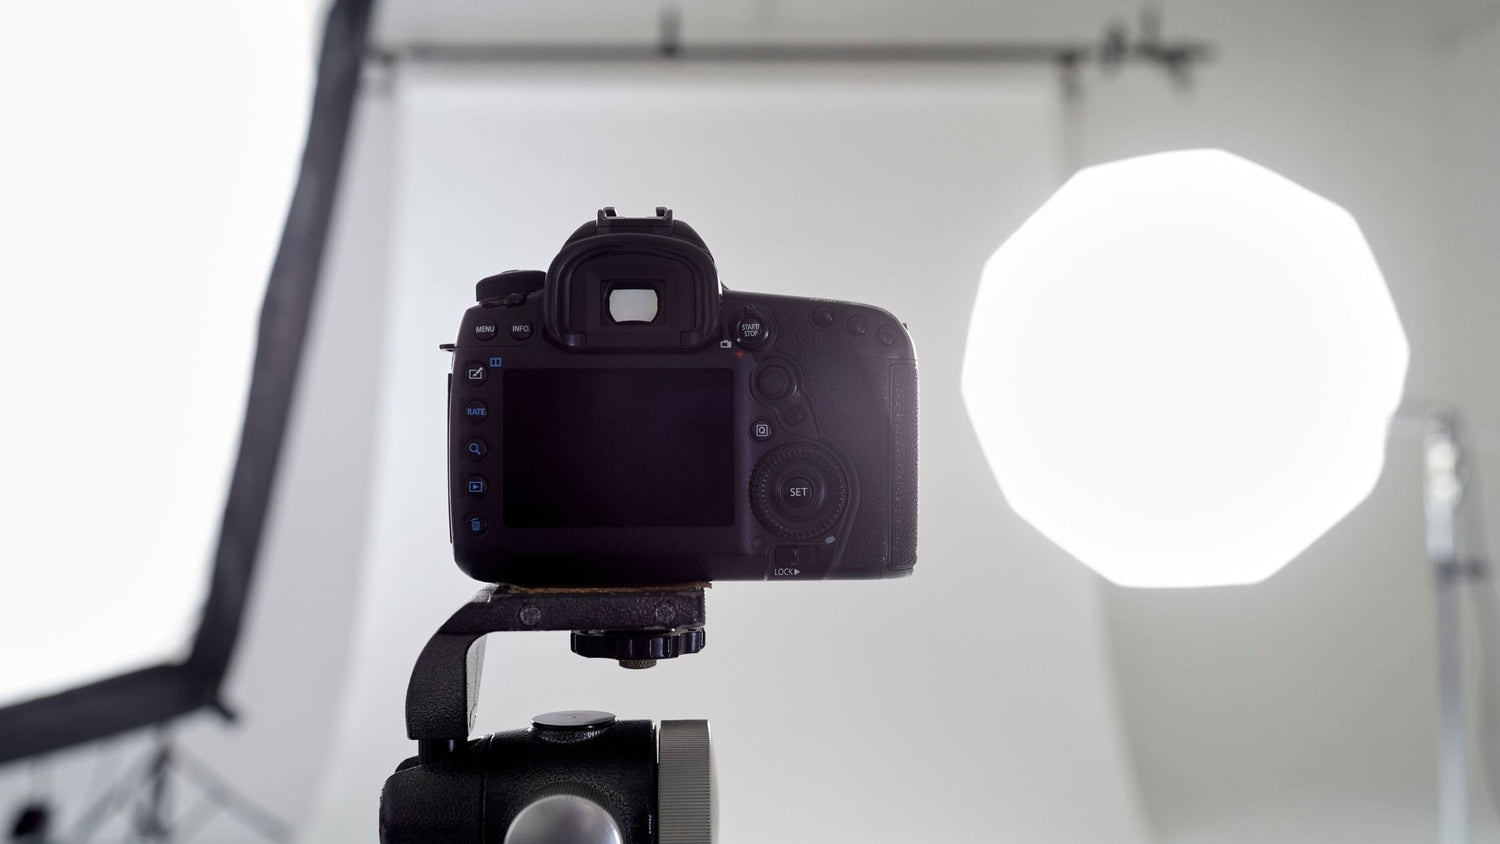
3. Play with Lighting—Natural or Artificial
Lighting can make or break a photo. The best photographers understand how to harness both natural and artificial light to create the perfect mood. Golden hour (just after sunrise or just before sunset) offers warm, soft light that is perfect for portraits and landscapes.
However, in studio settings or nighttime shoots, you’ll want to experiment with artificial lighting. Using diffusers, reflectors, and softboxes can soften harsh light, creating more flattering and professional-looking shots.
Pro Tip: For indoor or low-light situations, Oldshark LED lights are a fantastic option to bring out the best in your subject. These lights offer adjustable brightness and color temperature, giving you control over your shot’s ambiance.
4. Experiment with Depth of Field
Creating a shallow depth of field (the blurry background effect) can help isolate your subject and make it pop. This is particularly useful for portraits or close-up shots where you want the viewer to focus solely on your subject.
To achieve this, use a wide aperture (a lower f-stop like f/1.8 or f/2.8). Keep in mind that a shallow depth of field will require precise focus, so it’s important to focus on the eyes in portrait photography, as they’re the most engaging part of the face.
Pro Tip: For landscapes, a deep depth of field (keeping everything in focus) is usually the goal. Use a higher f-stop (such as f/8 or f/11) to keep both foreground and background sharp.
5. Master White Balance for Accurate Colors
Have you ever taken a photo and felt the colors weren’t quite right? That could be because the white balance was off. White balance refers to the process of adjusting the colors to make the image look more natural, considering the type of light in the scene (sunlight, fluorescent, etc.).
A good white balance setting will prevent photos from having unnatural color casts, like too much blue or yellow. You can adjust white balance manually or use the preset options available on your camera.
Pro Tip: If you're unsure, shoot in RAW format. This gives you more flexibility when editing your photos afterward, as you can tweak the white balance without losing quality.
6. Shoot in Manual Mode
While automatic settings on your camera or smartphone are convenient, they don’t give you full control over your shots. Shooting in manual mode allows you to adjust three key elements: aperture, shutter speed, and ISO.
-
Aperture controls the amount of light entering the lens.
-
Shutter speed controls how long the camera’s sensor is exposed to light.
-
ISO controls the sensitivity of the camera’s sensor to light.
Understanding how to balance these settings can help you achieve the perfect exposure, whether you’re shooting fast-moving action or capturing a long exposure of city lights.
Pro Tip: Practice makes perfect when it comes to manual mode. Experiment with different settings to see how they affect your photos, and soon you’ll be shooting like a pro.
7. Focus on Composition: Negative Space & Framing
Composition is everything in photography. Negative space (the empty space surrounding your subject) and framing (using elements in your scene to frame the subject) are powerful tools that can turn a good photo into a great one.
By leaving some open space around your subject, you can create a sense of balance and focus. Alternatively, framing your subject within natural elements, like a doorway or tree branches, can add interest and lead the viewer’s eye to the focal point.
Pro Tip: Don’t be afraid to leave space in your shots. Sometimes, less is more when it comes to composition.
Conclusion: Perfecting Your Craft with the Right Tools
Mastering these seven photography tricks will undoubtedly enhance your skills, but having the right equipment can make a world of difference. Whether you're just starting out or you're looking to upgrade your gear, the right accessories can take your photos to new heights.
For capturing steady shots, particularly in challenging environments, a Oldshark tripod ensures your camera remains perfectly still, even when you're on the move. Combine that with Oldshark’s adjustable LED lights for controlled lighting, and you'll be ready to take your photography to the next level.
Remember, photography is a journey of continuous learning and experimentation. Keep practicing these techniques, and you’ll soon be capturing the perfect moments every time!