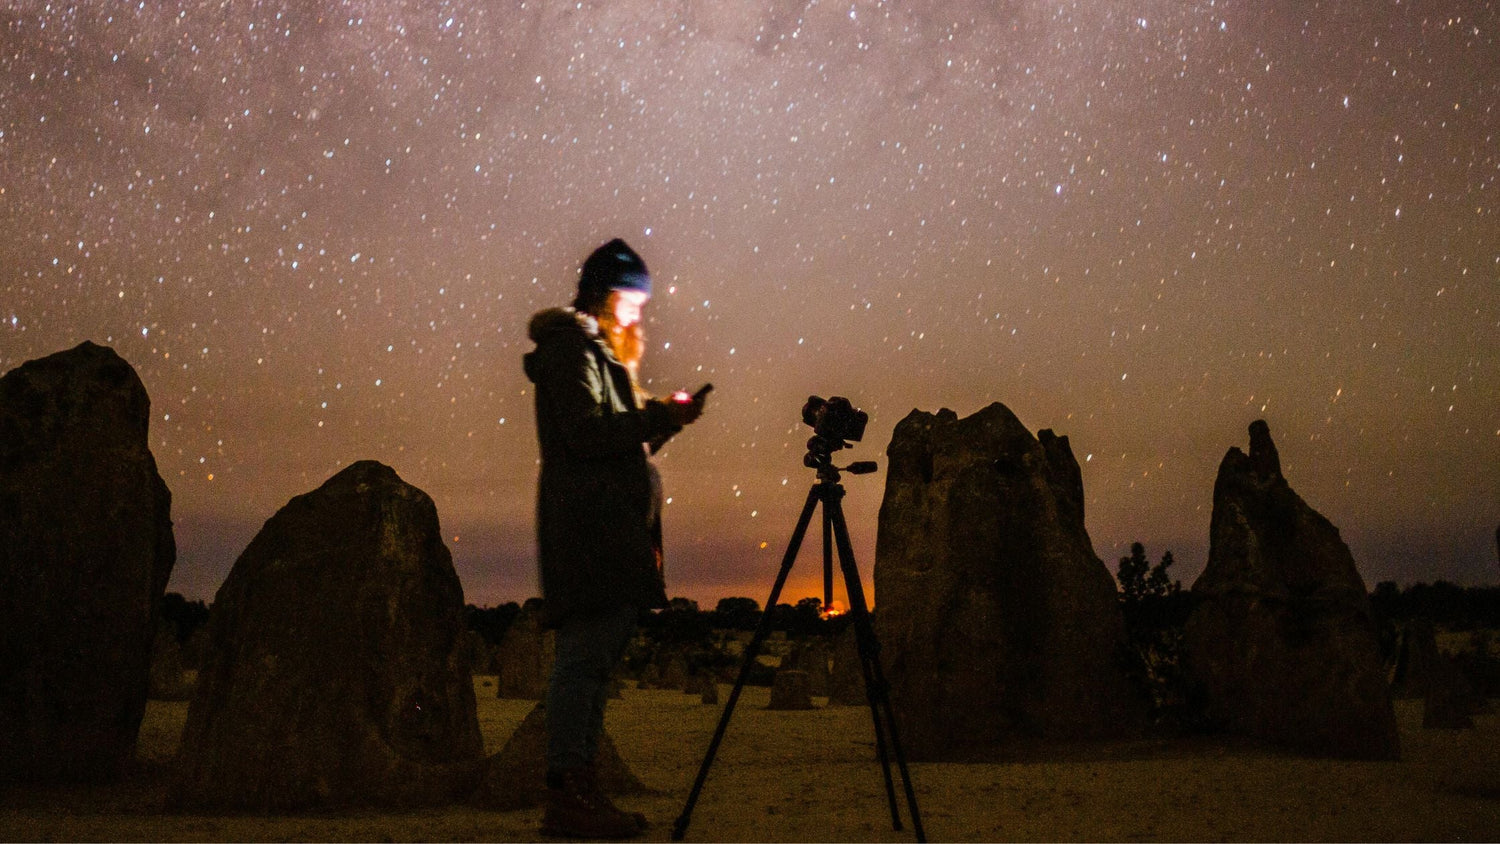
A stable tripod is the foundation of sharp, professional-quality photos and videos. If your tripod wobbles, your shots will suffer. But how do you ensure your tripod is rock-solid? In this guide, we’ll walk you through practical tests to check tripod stability, why stability matters, and how Oldshark tripods provide superior support for your gear.
Why Tripod Stability Matters
A sturdy tripod helps you capture crisp images and smooth videos by minimizing camera shake. Whether you're shooting long-exposure photography, time-lapse videos, or using a heavy camera setup, stability is non-negotiable. Unstable tripods can cause blurred images, accidental camera drops, and frustration during shoots.
Key Factors Affecting Tripod Stability
Before diving into testing, let’s look at the primary elements that influence tripod stability:
-
Material & Build Quality: Carbon fiber and aluminum are the most common materials. Carbon fiber is lighter yet strong, while aluminum is heavier but highly durable.
-
Leg Locks: Twist locks vs. flip locks—each has advantages, but they must be secure to prevent leg slippage.
-
Feet Design: Rubber feet for smooth surfaces, spiked feet for outdoor terrains.
-
Center Column Stability: A raised center column can compromise stability.
-
Load Capacity: Your tripod should support your camera’s weight without flexing.
How to Test Your Tripod’s Stability
1. Shake Test
Place your camera on the tripod and gently push it from different angles. Does it sway? A good tripod should resist movement and return to its original position immediately.
2. Leg Lock Strength Test
Extend each leg fully and apply moderate downward pressure. If the locks slip, they may need tightening or replacing.
3. Vibration Test
Tap the top of the tripod lightly and observe how long it takes for vibrations to stop. A stable tripod should settle quickly.
4. Wind Resistance Test
Set up your tripod outdoors on a windy day or use a fan to simulate wind. If it topples easily, consider a heavier model or use stabilizing weights.
5. Load Capacity Test
Mount your heaviest camera setup and check for flexing. If the tripod bends or feels unstable, it may be overloaded.
6. Terrain Adaptability Test
Test your tripod on various surfaces—grass, sand, concrete. Adjustable feet or a built-in leveling system can improve stability.
How Oldshark Tripods Enhance Stability
Oldshark tripods are designed with premium materials and advanced locking mechanisms to ensure maximum stability. Here’s why they stand out:
-
Reinforced Aluminum Alloy Construction – Provides durability without excessive weight.
-
Dual-Lock System – Enhances leg lock reliability.
-
Anti-Slip Rubber & Spiked Feet – Adapts to different terrains.
-
Precision Ball Head – Offers smooth and steady adjustments.
-
High Load Capacity – Supports DSLR cameras, mirrorless setups, and even telephoto lenses.
Additional Stability Tips
-
Use a Counterweight: Hang your camera bag from the center column hook for extra stability.
-
Keep the Center Column Low: Raising it too high can make the tripod top-heavy.
-
Spread the Legs Fully: Wider leg positioning increases stability.
-
Check for Loose Screws: Periodic maintenance ensures your tripod remains sturdy.
Conclusion
Testing your tripod for stability ensures you get sharp, shake-free images every time. Whether you're a landscape photographer, a vlogger, or a filmmaker, investing in a high-quality tripod like Oldshark guarantees reliability. Follow these tests and stability tips to maximize your tripod’s performance!
Looking for a rock-solid tripod? Check out the latest Oldshark tripods for the perfect blend of stability and portability!
Read More
How to Record Better Videos with Your iPhone in 2025: Tips & Tricks for Stunning Footage

