
Lighting can make or break a photograph. Whether you're capturing a professional portrait, a product shot, or a personal project, the right lighting setup is essential for achieving those picture-perfect moments. If you've ever struggled with uneven lighting or harsh shadows, this guide is for you! In this blog, we'll break down the fundamentals of studio lighting, highlight some essential techniques, and introduce a couple of top-notch products that can elevate your photography game.
Why Lighting Matters in Photography
Before diving into the technical details, let's take a moment to understand why lighting is such a crucial part of photography. Great lighting can highlight the subject's best features, create depth, and enhance the mood. On the other hand, poor lighting can result in flat, unflattering images. Think of lighting as the brush that paints your photograph—without it, you’re left with nothing but shadows.
Types of Studio Lighting
There’s no one-size-fits-all when it comes to lighting. Depending on the style of photography, the mood you're trying to create, and the subject you're shooting, different types of lighting setups work best. Let’s go through the most common options.
1. Key Light
The key light is the main source of illumination. It's typically placed at a 45-degree angle to the subject and can create dramatic, professional effects. The intensity of the key light defines the overall exposure of the image.
Tip: If you're looking for soft lighting, consider using a diffuser or softbox to make the light more flattering.
2. Fill Light
To balance out the harsh shadows caused by the key light, you’ll need a fill light. It’s typically softer and placed on the opposite side of the key light. The fill light doesn't overpower the key light but instead fills in the shadows, ensuring the image isn’t too dark.
Pro Tip: Use a white reflector to bounce natural light as a fill light for a more organic feel.
3. Back Light (Hair Light)
Backlighting is used to create depth and separation between the subject and the background. It can highlight hair, shoulders, and the edges of a subject, giving the photo a three-dimensional look.
Tip: For a creative touch, experiment with colored gels on your backlight to add some flair to the image.
4. Accent Light
Accent lights are used to highlight certain details of a scene or subject. These could be used for creative shots, product photography, or any image where you want to draw attention to a particular area.
Pro Tip: Use an accent light with a snoot or barn doors for precise control over where the light falls.
Key Photography Lighting Techniques
Now that you understand the different types of lighting, let’s take a look at some lighting techniques you can use to bring your photography to the next level.
1. Rembrandt Lighting
This technique is popular for portraits and creates a triangle of light on the cheek opposite the key light. It’s great for adding drama and depth to your images. To achieve Rembrandt lighting, position the key light at a 45-degree angle above the subject.
2. Butterfly Lighting
This is another popular portrait lighting technique. The key light is positioned directly in front and above the subject, creating a butterfly-shaped shadow under the nose. This soft, flattering light is perfect for beauty shots or professional headshots.
3. Split Lighting
Split lighting is used to create stark contrasts in portraits, dividing the face into light and shadow. The key light is placed at a 90-degree angle to the subject, and the result is dramatic and bold.
4. Broad Lighting
For a softer, more approachable look, broad lighting is ideal. The key light is positioned on the side of the subject facing the camera, which illuminates the entire side of the face, making the subject appear broader.
Choosing the Right Lighting Equipment for Your Studio
Choosing the right lighting gear can be overwhelming with so many options available. Let's simplify things by looking at two essential pieces of lighting equipment you should consider for your studio.
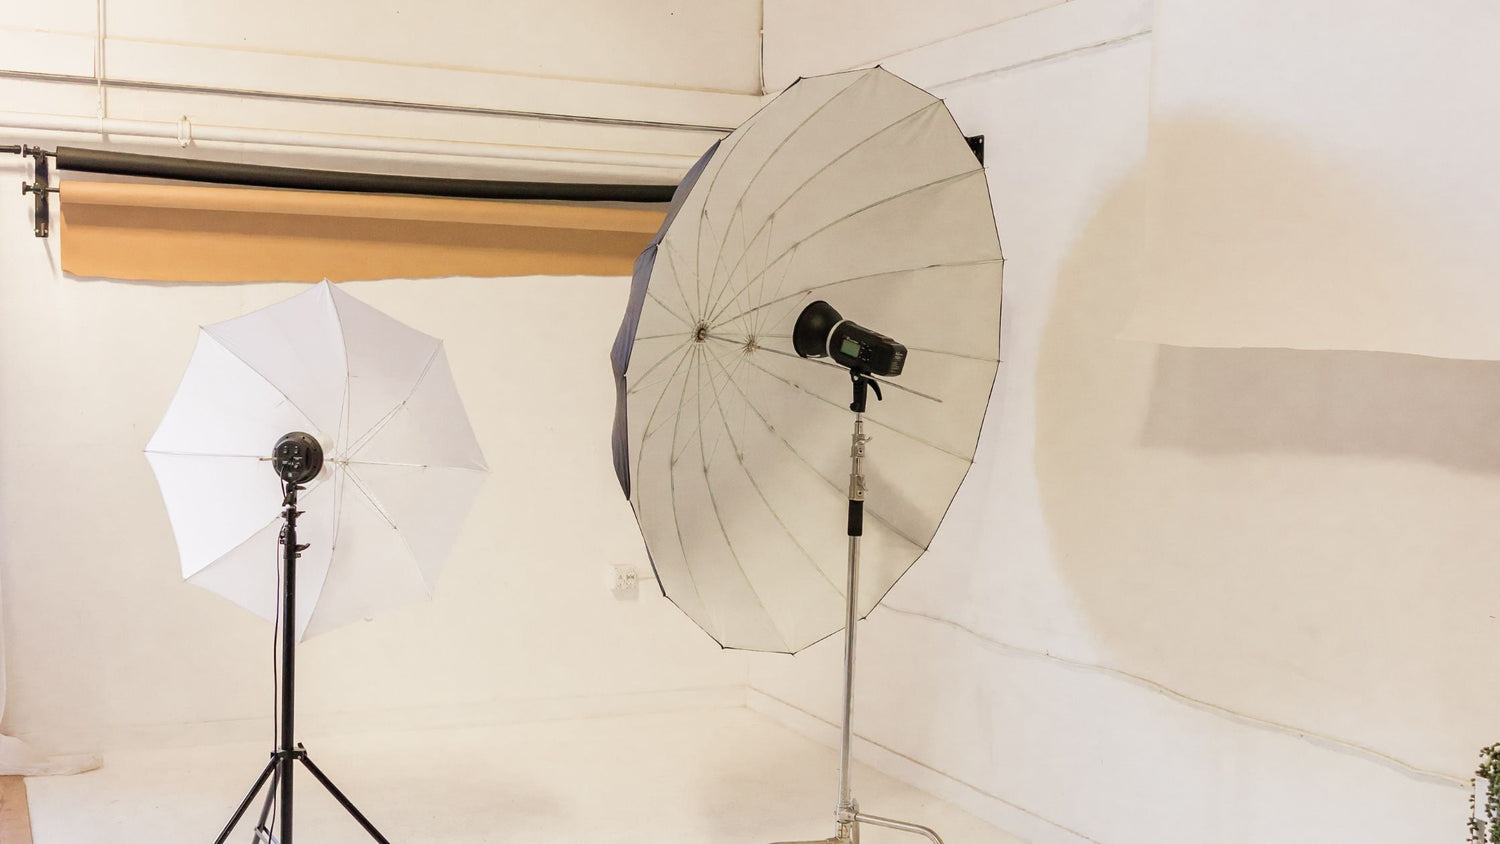
1. Softboxes
Softboxes are a must-have for photographers who want to create soft, diffused light. They are perfect for portrait photography, product photography, and any shoot where you want to eliminate harsh shadows. Softboxes come in various sizes and shapes, allowing you to tailor the lighting to the size of your subject.
2. LED Panel Lights
LED panel lights are versatile and compact, making them ideal for photographers who need portability. These lights offer adjustable color temperature, which allows you to adapt the lighting to different environments. Plus, they generate little heat, making them great for extended shooting sessions.
Recommended Product: For those who want an LED panel that offers both quality and portability, check out Oldshark’s LED Video Light. This light is perfect for both photography and video, with adjustable brightness and color temperature to help you achieve the perfect look.
How to Achieve the Best Lighting Effects for Your Shots
Even with the right equipment, how you use your lights can make all the difference. Here are a few tips to maximize the effectiveness of your studio lighting setup:
1. Experiment with Light Placement
Don't be afraid to move your lights around and test different placements. A slight change in angle can dramatically alter the mood of the image. Try positioning your lights at various angles, heights, and distances from the subject to see what works best.
2. Use Reflectors to Fill in Shadows
If you're working with a single light source, reflectors are a great tool to fill in shadows and soften the overall look. Place the reflector opposite the key light to bounce light back onto the subject.
3. Control Your Background Lighting
Your background can be just as important as your subject when it comes to lighting. Use a separate light to illuminate the background and create a more dynamic image. A well-lit background can add texture, depth, and interest to your shots.
4. Adjust the Light’s Intensity
The intensity of the light should match the mood you're aiming for. For dramatic, high-contrast shots, use a stronger key light. For softer, more natural lighting, opt for a lower intensity or diffuse the light with a softbox.
Conclusion
Good lighting is essential to creating stunning photographs, and knowing how to use it effectively can transform your work. By understanding the different types of lights, learning essential photography techniques, and investing in quality lighting gear, you can achieve professional-looking results every time.
Whether you're capturing portraits, products, or creative compositions, the right lighting setup can help you capture the perfect moment. And remember, tools like LED Video Lights can be game-changers in achieving those beautiful, balanced shots. So, don’t let bad lighting ruin your photos—master the art of studio lighting and watch your photography skills soar!